Cart
Cart
Lip Filler Before After: What to Expect from Your Treatment
Unveiling the Transformation: Lip Filler Before After Results Price List Introduction Lip fillers have become increasingly popular in recent years, with many people seeking to enhance their natural lip shape and volume. If you’re considering lip filler treatment, you’re likely curious about the before and after results. In this comprehensive guide, we’ll walk you through […]
Unveiling the Transformation: Lip Filler Before After Results
Introduction
Lip fillers have become increasingly popular in recent years, with many people seeking to enhance their natural lip shape and volume. If you’re considering lip filler treatment, you’re likely curious about the before and after results. In this comprehensive guide, we’ll walk you through the entire process, from consultation to recovery, and help you understand what to expect from your lip filler journey.
Understanding Lip Fillers
Lip fillers are injectable treatments that add volume to the lips, enhance their shape, and reduce the appearance of fine lines around the mouth. Most commonly, these fillers are made from hyaluronic acid, a substance naturally found in the body that helps retain moisture and create a plump appearance.
Some popular types of lip fillers include:
- Juvederm
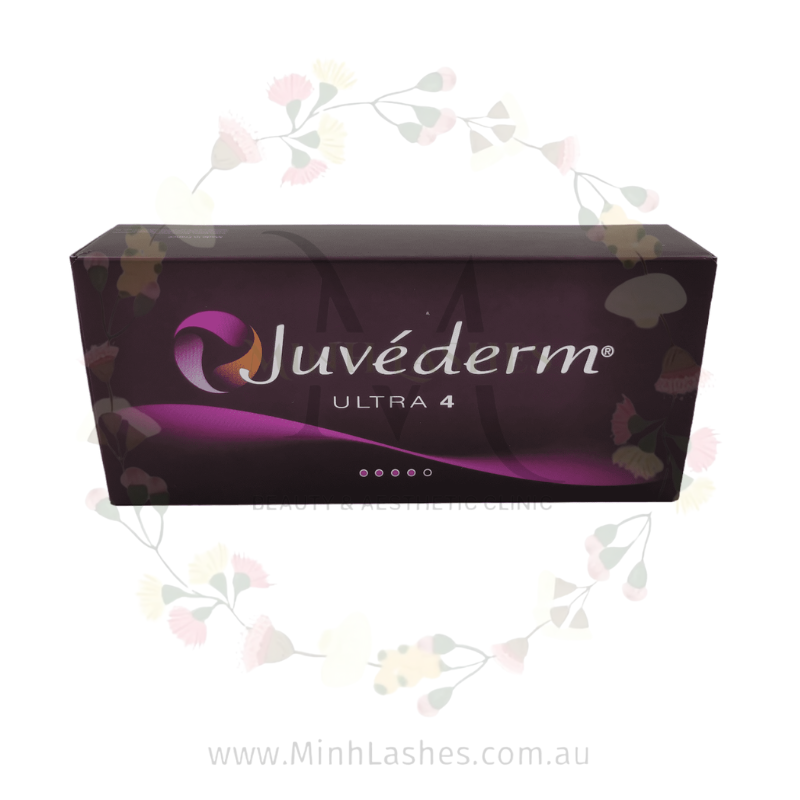
Juvederm Filler
- Restylane
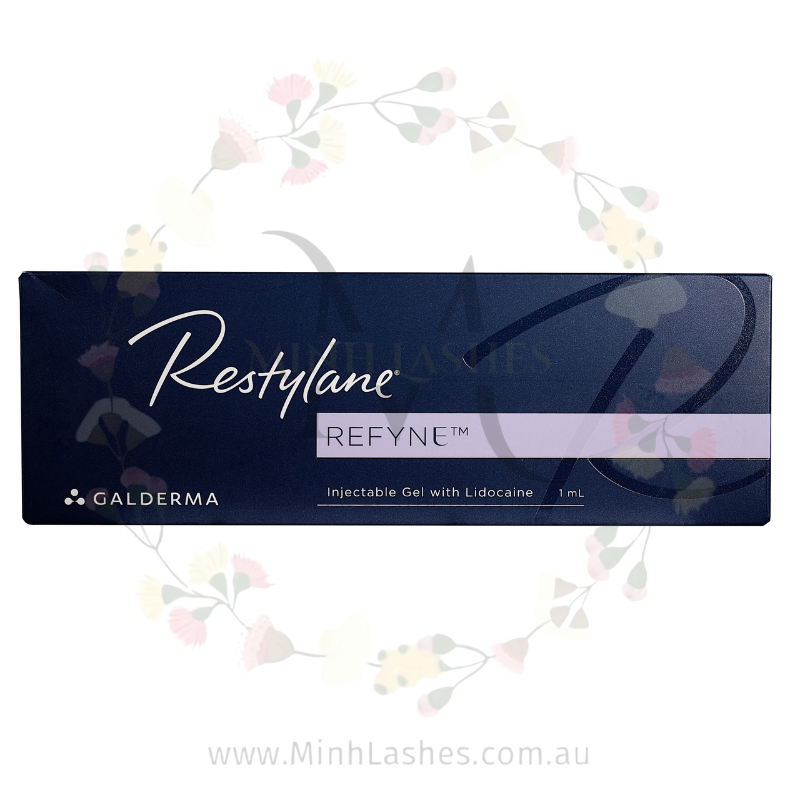
Restylane Filler
- Belotero
-
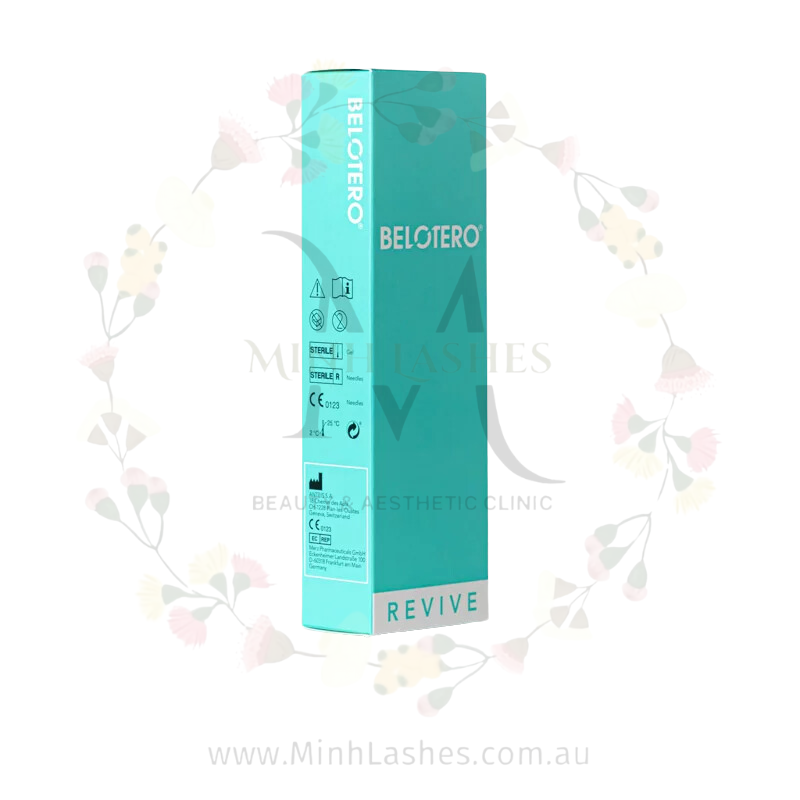
Belotero Filler
Each type has its own unique properties, and your practitioner will help you choose the best option for your desired results.
The Lip Filler Process
To give you a clear picture of what to expect, let’s break down the lip filler process into several stages:
- Consultation
- Preparation
- Treatment
- Immediate post-treatment
- Recovery
- Final results
Before the Treatment
Consultation
Your lip filler journey begins with a consultation. During this appointment, you’ll discuss your goals with a qualified practitioner. They’ll assess your facial structure, lip shape, and overall health to determine if you’re a good candidate for lip fillers.
Pro tip: Bring reference photos of lips you admire to help communicate your desired outcome.
Preparation
In the days leading up to your appointment:
- Avoid blood-thinning medications and supplements (e.g., aspirin, fish oil) for at least a week before treatment
- Stay hydrated by drinking plenty of water
- Avoid alcohol for 24 hours before the procedure
- If you’re prone to cold sores, ask your practitioner about antiviral medication
During the Procedure
On the day of your lip filler treatment:
- Your practitioner will cleanse your lips and apply a numbing cream
- Once your lips are numb (usually after 15-20 minutes), the filler will be injected using a fine needle or cannula
- The practitioner may massage your lips to ensure even distribution of the filler
- The entire process typically takes 30-60 minutes
Note: You may experience some discomfort during the injections, but it should be manageable.
Immediate Aftermath
Immediately after your lip filler treatment, you can expect:
- Swelling and possible bruising
- A “overfilled” appearance (this is temporary)
- Some tenderness or sensitivity
Your practitioner will provide aftercare instructions, which may include:
- Applying ice to reduce swelling
- Avoiding makeup for 24 hours
- Staying hydrated
- Refraining from strenuous exercise for a day or two
The Recovery Period
The first week after your lip filler treatment is crucial for recovery:
Days 1-3
- Swelling will be at its peak
- You may notice some asymmetry (this is normal and temporary)
- Bruising may become more apparent
Days 4-7
- Swelling should start to subside
- Any bruising will begin to fade
- Your lips will start to settle into their new shape
Remember: Everyone’s healing process is different. Some people may recover faster, while others might take a bit longer.
Long-Term Results
After about two weeks, you’ll be able to see the true results of your lip filler treatment. At this point:
- Swelling and bruising should have completely subsided
- Your lips will have settled into their new shape and volume
- You’ll be able to fully appreciate the before and after difference
Most lip fillers last between 6-12 months, depending on the type of filler used and your individual metabolism.
Maintaining Your New Look
To make the most of your lip filler results:
- Follow a good skincare routine, including regular exfoliation and moisturizing
- Stay hydrated to keep your lips plump and healthy
- Protect your lips from sun damage with SPF lip balm
- Consider touch-up treatments every 6-12 months to maintain your desired look
Learn more about lip care after fillers
Conclusion
Lip fillers can provide a significant transformation, enhancing your natural beauty and boosting your confidence. By understanding the lip filler before and after process, you can approach your treatment with realistic expectations and be well-prepared for the journey.
Remember, the key to successful lip filler results lies in choosing a qualified practitioner and following proper aftercare instructions. If you’re considering lip fillers, take the time to research and find a reputable clinic in your area.
Are you ready to explore the possibilities of lip fillers? Book a consultation with a trusted practitioner to discuss your goals and start your lip enhancement journey today!
CTA: Share your lip filler before and after experiences in the comments below. We’d love to hear about your transformation!
related blog

Who Should Avoid Eyelash Extensions? Medical Risks & Precautions
Who Should Avoid Eyelash Extensions? Medical Conditions and Precautions Eyelash extensions are a staple in the modern beauty routine, offering a way to enhance natural features without the daily hassle of mascara. However, for some individuals, these aesthetic enhancements can pose serious health risks. Prioritizing the health of the ocular surface over temporary lash volume […]

Debunking Eyelash Extension Myths: Safe Application Truths Revealed
Debunking Eyelash Extension Myths: Safe Application Truths Revealed In the world of professional beauty, few treatments are as transformative—or as misunderstood—as eyelash extensions. For years, rumors have circulated about the potential for damage, infections, and permanent lash loss. However, when you separate fiction from fact, the reality is that extensions are a safe, stunning enhancement […]
The Science Behind Lash Extension Adhesives: Allergens and Safer Choices
The Science Behind Lash Extension Adhesives: Allergens and Safer Choices In the professional beauty world, the bond between a natural lash and an extension is only as strong—and as safe—as the adhesive used. Understanding the chemistry of lash adhesive is not just for scientists; it is a vital skill for every lash artist committed to […]